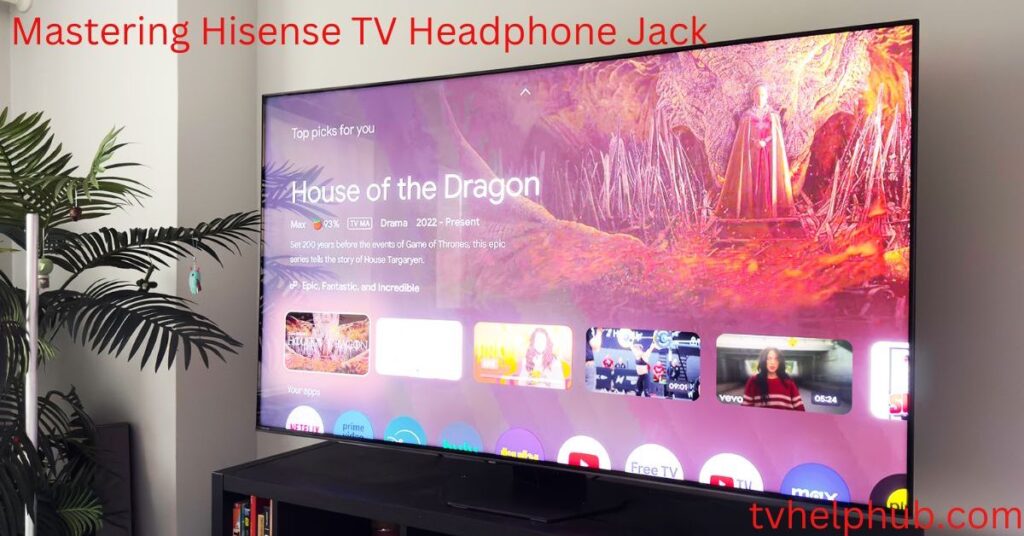
Introduction
The Smart TV market is filled with various models, but finding the perfect Hisense TV can be overwhelming. Unlike brands like LG or Samsung, which invest in flashy marketing and Super Bowl partnerships, Hisense focuses on delivering amazing value for money. Whether you need a TV for screen mirroring, home entertainment, or a budget-friendly model, there’s an option for you. But how do you make the right choice? That’s where we step in.
If you’re worried about what to do when things go wrong, such as needing to reset your TV without a remote, don’t stress. Our experts at AirBeamTV have put together this ultimate guide filled with useful tips, tricks, and recommendations to enhance your Hisense TV experience. Whether you’re using Android or iOS devices, a simple click can transform how you enjoy content. In less than a minute, you can set up screen mirroring and explore new features. So, let’s dive in and find the best Hisense TV model for your needs!
Why Optical Cable is the Best Way to Connect Your Hisense TV and Soundbar
If you want crystal-clear sound from your Hisense TV, an optical cable is a smart option. It provides digital transmission, ensuring pristine audio quality without interference. Unlike other methods, this setup keeps the sound hassle-free and easy to manage. Many Hisense TV models include optical output, making it a seamless and plug-and-play solution. This means no complicated steps—just connect the optical cable, tweak a setting, and enjoy better sound.
One of the biggest advantages of optical audio output (also called Digital Audio Out – Optical) is its universal compatibility with most soundbar brands. It is widely used in streaming content, ensuring you experience richer, more detailed audio. Whether you’re watching a Dolby Digital movie or listening to music, the difference in sound quality is noticeable. DTS and 5.1 systems also work well with this connection, making it a solid choice for home entertainment.
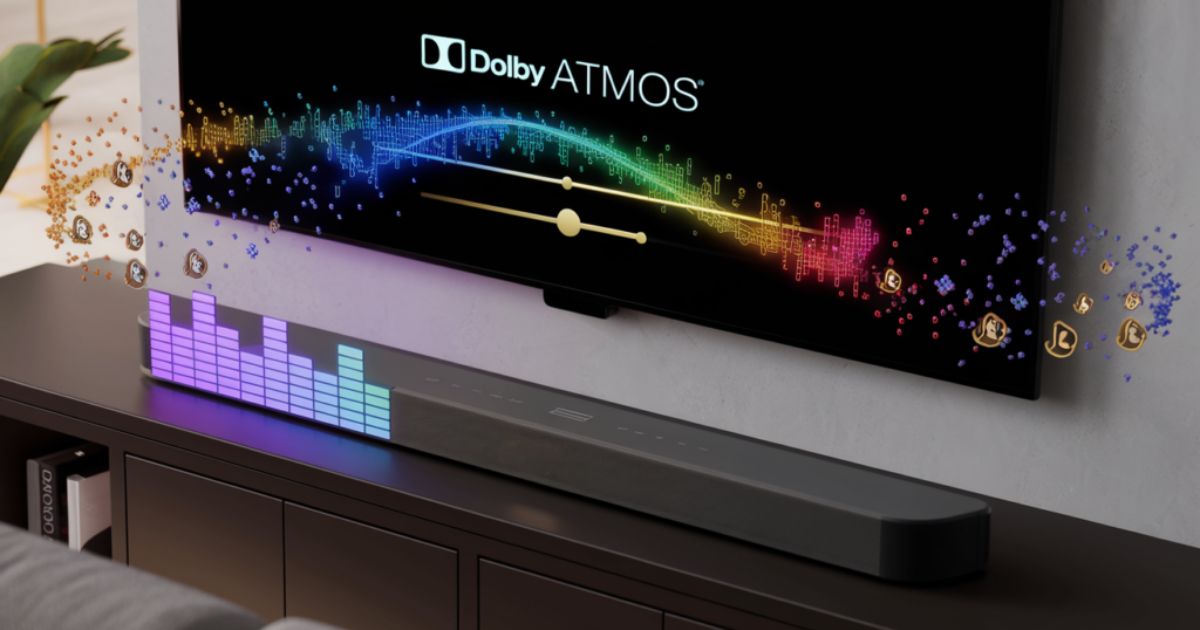
While HDMI eARC supports cutting-edge sound formats like Dolby Atmos, an optical connection still delivers an outstanding audio experience for most users. The bandwidth limits of an optical cable may not support full Dolby Atmos effects, but for the majority of setups, this will not be a major issue. The clarity and enhanced sound quality it provides still make it a winning choice for many Hisense TV owners.
Top Hisense Roku TV Models with Headphone Jack Support
If you’re looking for a Hisense TV that makes audio connectivity seamless, then exploring Roku models is a great choice. These TVs come packed with advanced settings and apps, offering a user-friendly experience. With a screen that delivers stunning visuals, you can enjoy an immersive viewing experience.
One of the standout features of Hisense Roku TVs is their built-in operating system, which provides instant access to multiple streaming platforms. Whether you love watching Netflix, Disney Plus, or Hulu, you’ll find everything in one place. These models are designed to support 4K capabilities, ensuring crystal-clear picture quality.
Hisense Vidaa TV: A Smart OS for Audio Customization
For those who own a Hisense TV but don’t use Roku, the Vidaa operating system is another fantastic option. This custom operating system is specifically developed by Hisense to enhance Smart TV experiences. It comes with a user-friendly interface that makes it easy to access and manage your preferred streaming apps and Live TV features.
Seamlessly Connect Your Soundbar to Your Hisense TV
Getting a soundbar to work with your Hisense TV can completely change how you experience audio. Whether you love booming bass or just want a superior listening experience, setting up the connection correctly is essential. A step-by-step approach ensures that you can enjoy rich, immersive sound without any hassle.
First, you need to find the correct ports on your TV. Look at the panel on the back and locate the digital audio out port, labeled “Digital Audio Out (Optical).” Your soundbar will have a corresponding input that says “Digital Audio In (Optical)” or simply “Optical In.” Make sure you have properly identified these before moving forward.
Now, take your optical cable and check both ends. If you see small protective caps, remove them carefully. These caps are often clear plastic, red, or another bright color. Align one end of the connector with your TV’s output port. The optical connector is keyed, meaning it only fits one way. If it doesn’t slide in smoothly, pause and re-check the alignment before trying again.
After securing the first end, take the free end of the optical cable and insert it into your soundbar. Follow the same process, making sure it clicks into place. At this point, your connection is nearly complete. Turn ON your Hisense TV and soundbar to proceed with the final steps.
Fixing No Sound Issues with an Optical Connection
Nothing is more frustrating than setting up your Hisense TV with a soundbar using an optical cable only to be met with complete silence. This is a common issue, but don’t panic! Most of the time, the problem is easily resolved. The first thing to do is to check your audio output settings. Many people overlook this step and forget to set the TV to Optical or External Speakers (Digital Out). Go through your Hisense TV’s settings again and ensure you’ve saved the correct selection. A simple re-check often fixes the issue immediately.
Checking the Optical Cable Connection
If the soundbar is still not working, double-check the physical connection of your optical cable. Even if it looks connected, a loose connection can cause issues. Unplug both ends of the cable from your Hisense TV and soundbar, then firmly push them back in until you hear a click. This ensures a secure connection and prevents intermittent audio loss. Even a slight misalignment can lead to silence.
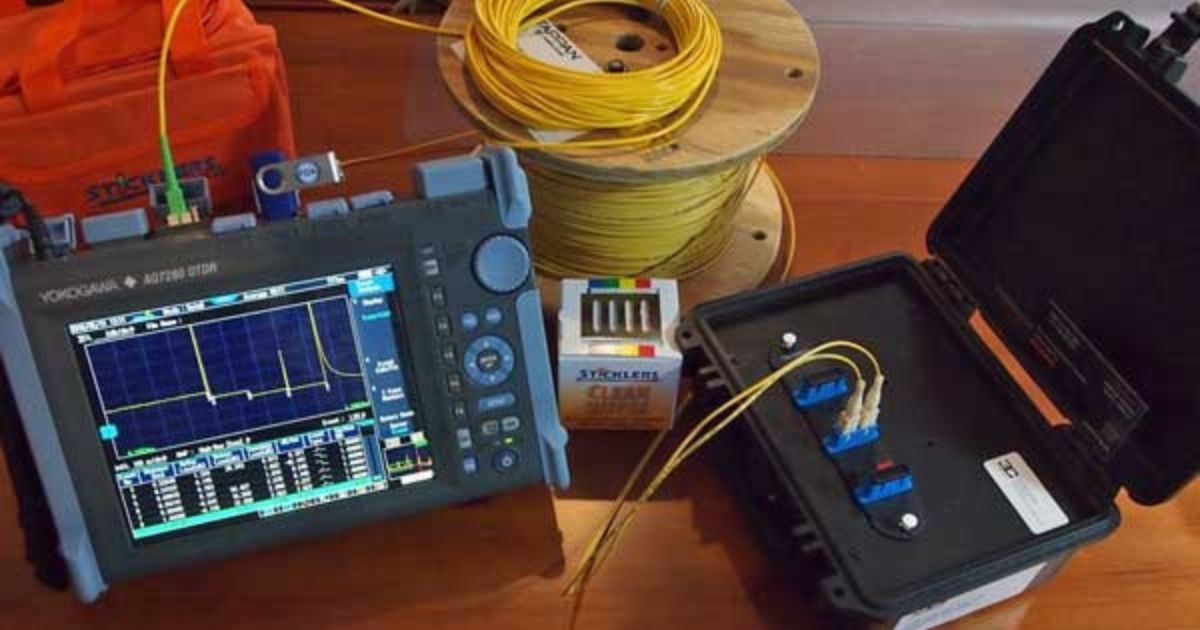
Inspecting for Cable Damage
A faulty optical cable can be the hidden culprit behind your audio issues. While it may seem robust, these cables are surprisingly delicate. Run your fingers along the cable to check for kinks, bends, or fractures. Also, inspect the plastic connectors at each end for any visible damage. If you have a spare optical cable, swap it out and see if the issue gets fixed. If replacing the cable restores your sound, you’ve found the problem.
Choosing the Right Soundbar Input
Sometimes, the soundbar is simply set to the wrong input. Use the remote to cycle through the available input sources, such as HDMI, AUX, or Bluetooth. Make sure it is set to Optical or Digital In. If your soundbar is on the wrong input, it won’t pick up the audio signal, resulting in no sound output.
Volume Settings on TV & Soundbar
Before diving into more technical fixes, check the volume settings on both your Hisense TV and soundbar. It may seem obvious, but the mute button is often the cause of silence. Gradually increase the volume using the soundbar’s remote, starting from a low level and adjusting until you reach a comfortable listening experience. Look for mute icons on the TV screen to ensure neither device is silenced.
Testing Different Audio Sources
The problem might not be with the optical connection at all—it could be the audio source itself. Switch to a different streaming app, an over-the-air TV channel, or a Blu-ray player to see if sound plays. If the issue only occurs with certain content, the problem might be within the app’s settings rather than the TV or soundbar setup.
Restarting TV and Soundbar (Power Cycling)
Sometimes, a simple restart can fix everything. Turn OFF both your Hisense TV and soundbar, then unplug them from the power outlets for about 30 seconds. This helps discharge any residual electricity that may be causing software glitches. Plug them back in, turn them ON, and test if the audio output is working again.
Conclusion
Hisense TVs offer impressive value, great features, and excellent connectivity options, making them a solid choice for any home entertainment setup. Whether you’re looking for the best way to connect a soundbar using an optical cable, exploring Roku models with a headphone jack, or customizing audio settings with the Vidaa OS, Hisense has a solution for you. With straightforward setup processes and troubleshooting steps, you can easily enhance your viewing and listening experience. No matter your needs—be it immersive sound, seamless screen mirroring, or a budget-friendly yet high-quality TV—this guide ensures you make the best choice.
FAQs
Q1. How do I reset my Hisense TV without a remote?
You can reset your Hisense TV by pressing and holding the power button on the TV for about 15 seconds. If your model has a reset button, use a pin or paperclip to press and hold it for a few seconds.
Q2. Does Hisense support Dolby Atmos through an optical cable?
No, optical cables do not support full Dolby Atmos. To experience Dolby Atmos, you need an HDMI eARC connection. However, optical cables still provide high-quality audio for most setups.
Q3. How do I fix no sound issues when using an optical cable with my Hisense TV?
Check your TV’s audio settings to ensure “Optical” or “Digital Out” is selected. Also, inspect the cable for damage, ensure a secure connection, and make sure the soundbar is set to the correct input. Restarting both the TV and soundbar can also help resolve the issue.
Q4. Which Hisense Roku TV models have a headphone jack?
Popular Hisense Roku models with headphone jack support include the Hisense 55R7E, 43R7E, 65R8F, 50R7E, and 55R6E. These models offer built-in streaming apps and great picture quality.
Q5. How do I connect a soundbar to my Hisense TV using an optical cable?
Locate the digital audio out port on your Hisense TV and connect one end of the optical cable. Plug the other end into the soundbar’s optical input, then adjust the TV’s audio settings to use “Optical” or “External Speakers.”