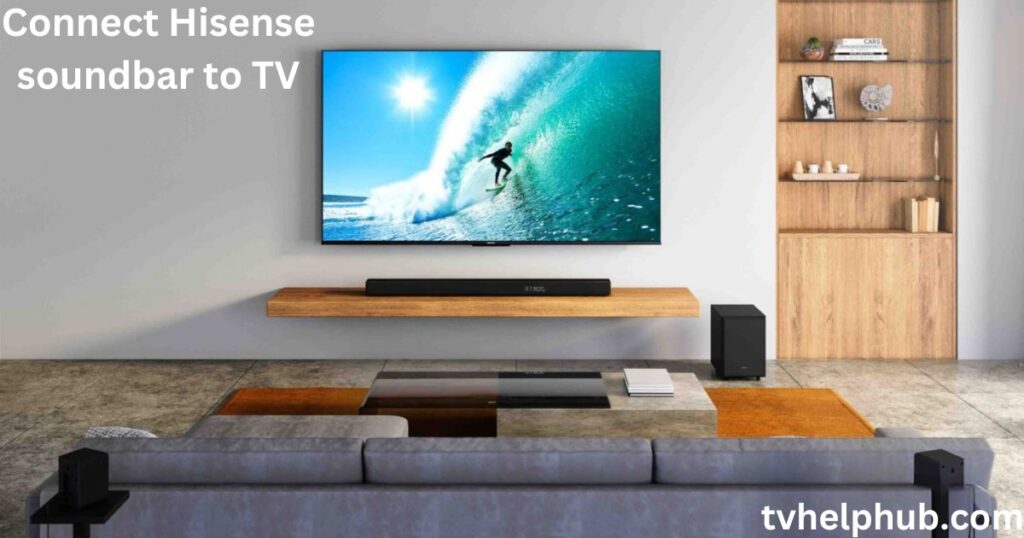
Introduction
A Hisense TV Connect Hisense soundbar to TV delivers stunning visuals, but its built-in speakers might not give you the immersive sound you crave. If you enjoy watching movies, playing games, or listening to music, a soundbar is the perfect way to elevate your audio experience. I remember the first time I set up my soundbar—the difference was night and day! Instead of weak, flat sound, I got deep, rich tones that pulled me into every scene. to Think of it as a digital superhighway, transmitting crystal-clear audio directly from your Hisense TV CConnect Hisense soundbar to TV onnect Hisense soundbar to TV to your soundbar. No need for messy cables or complicated setups—just plug it in and enjoy pure, enhanced sound in minutes. Many to owners, including myself, swear by this method for its simplicity and performance.
Why Optical Cable is the Smartest Choice for Your Hisense TV
When setting up your Hisense TV with a soundbar, choosing the right connection makes all the difference. With many options available, an optical cable is often the best pick due to its universal compatibility and hassle-free setup. It works as a plug-and-play solution, meaning you just plug the cable into the TV’s optical audio output and the soundbar, making the process incredibly user-friendly. Unlike HDMI ARC, which some older Hisense TVs might not support, an optical connection remains an accessible digital audio output that works across different models.
An optical setup is known for delivering crystal-clear audio signals with pristine sound quality. Since it’s a digital connection, it completely eliminates interference, ensuring a smooth soundbar setup. If you enjoy watching movies or listening to music, you’ll appreciate the rich, detailed audio that an optical cable provides. It supports Dolby Digital and DTS formats, which are commonly used in broadcasts and streaming content, making it a true upgrade for your home entertainment system.
For those who prefer a simple setup process, an optical cable is a perfect choice. There’s no need for complex configuration—just adjust one setting on your Hisense TV, and everything is ready to go. The volume control becomes much easier too, as it can be managed directly through the soundbar remote, streamlining the entire experience.
If you’re using an older Hisense TV that lacks modern HDMI technology, an optical connection provides a dedicated pathway to enhanced sound quality. Even without HDMI eARC, it’s an excellent solution for getting an audio boost without any extra fuss. For many, this remains a winning choice that delivers an outstanding improvement to TV audio without requiring additional upgrades.
Simple Steps to Set Up Your Hisense Soundbar with an Optical Cable
Setting up your Hisense soundbar with an optical cable is one of the easiest ways to get better audio quality from your TV. Whether you’re watching your favorite shows or enjoying a movie night, a proper connection ensures a seamless and enhanced listening experience. I’ve connected many soundbars before, and trust me, this method works like a charm!
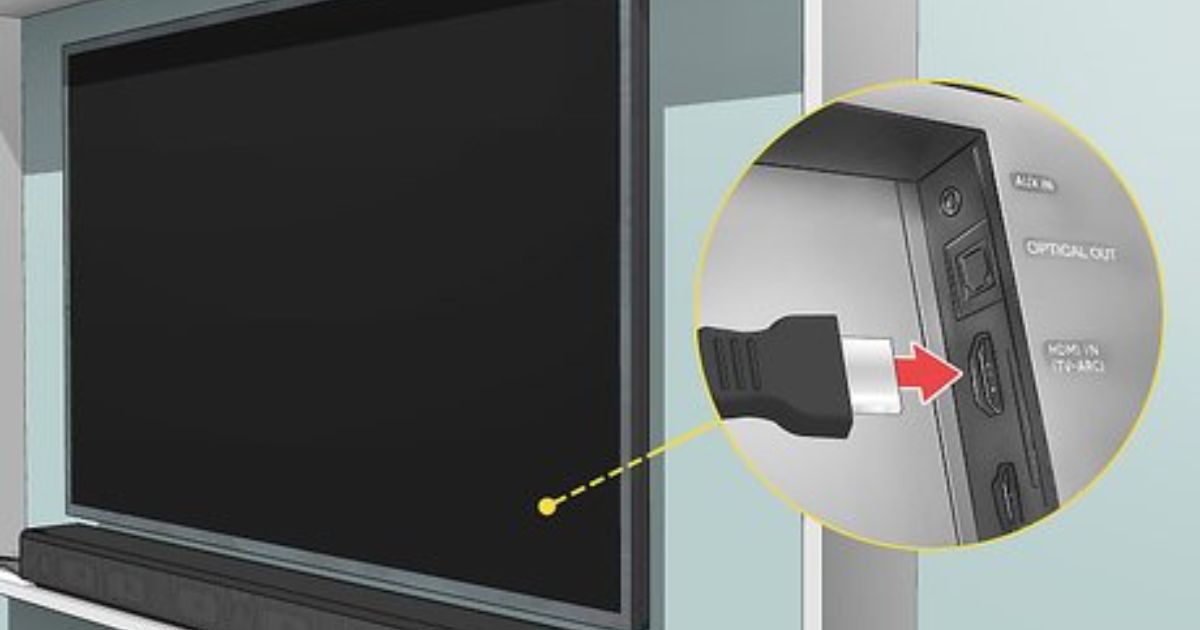
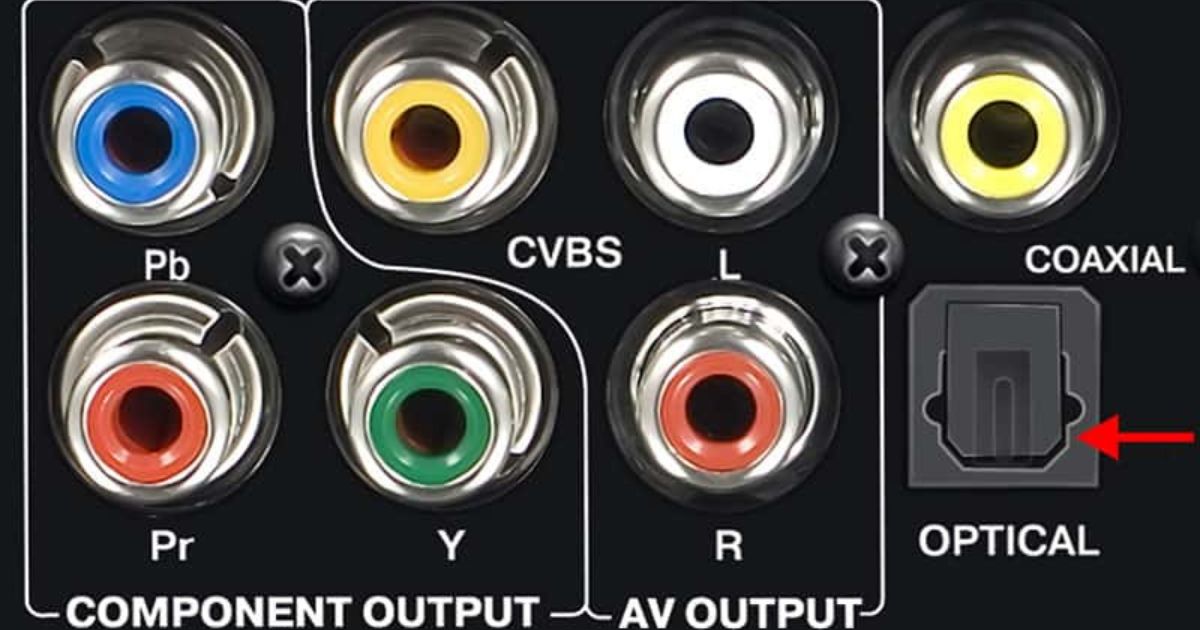
First, locate the Digital Audio Out (Optical) port on your Hisense TV. It’s usually on the back panel, but on some models, it may be on the side. The port is small, rectangular, and often covered with a hinged flap or a removable dust cover. Be sure to look for a clear label like “Optical Out” to avoid confusion. If you have trouble finding it, check the user manual—it includes diagrams that clearly show where each port is located.
Next, take your TOSLINK cable, which is designed to transmit digital signals, and inspect it for any visible damage. Even a slight issue with the plastic connectors can cause unwanted issues with the audio output. If your cable is in good condition, securely plug one end into the optical-out port on the TV and the other into the Optical In port on the soundbar. The ports are designed to mirror each other for physical compatibility, ensuring a perfect fit.
To complete the setup, grab your Hisense TV remote and navigate to the on-screen settings. Click on the sound settings tab, select sound output, and change it from TV speakers to optical connection. This step allows the TV to send all audio signals directly to the soundbar for a richer and clearer sound. At the same time, keep your soundbar remote within easy reach to manage volume levels and select the correct input source.
Before you power everything on, a pre-connection checklist can save you from potential headaches. Make sure both the TV and soundbar are completely powered OFF before connecting any cables. Also, ensure you have all necessary remotes and that your setup is free of obstacles. Skipping this step might cause compatibility issues or prevent the optical connection from working properly.
Identify the Right Ports for a Seamless Connection
Before setting up your Hisense TV and soundbar, you need to find the correct optical audio ports. Start by looking at the back panel of your television and check for the Digital Audio Out (Optical) label. This specific port is where your optical cable will connect. Once you’ve found it, locate the corresponding input port on your soundbar. It should be marked as Digital Audio In (Optical) or simply Optical In, depending on the model you have. Identifying these ports first makes the setup process much easier and prevents any confusion later.
Connect the Optical Cable Properly
Now that you’ve identified the correct ports, it’s time to connect the optical cable. Before doing so, check if your new cable has protective plastic caps on each end. Take a moment to check the shape of the port and the connector before pushing it in. Apply steady yet gentle pressure until you hear a slight click, which means it’s securely in place. Forcing the cable in the wrong direction could damage the connector, so if it doesn’t fit, pause and re-check the alignment before trying again.
Secure the Connection to the Soundbar
With one end of the cable securely connected to your Hisense TV, the next step is to attach the free end to your soundbar. Use the same method as before—align the optical connector with the Digital Audio In (Optical) port on your soundbar. Once properly aligned, push it in gently until you hear a click or feel it lock into place. Again, avoid forcing the connector; if it doesn’t insert easily, take a moment to double-check the alignment before applying more pressure.
Power On and Optimize the Audio
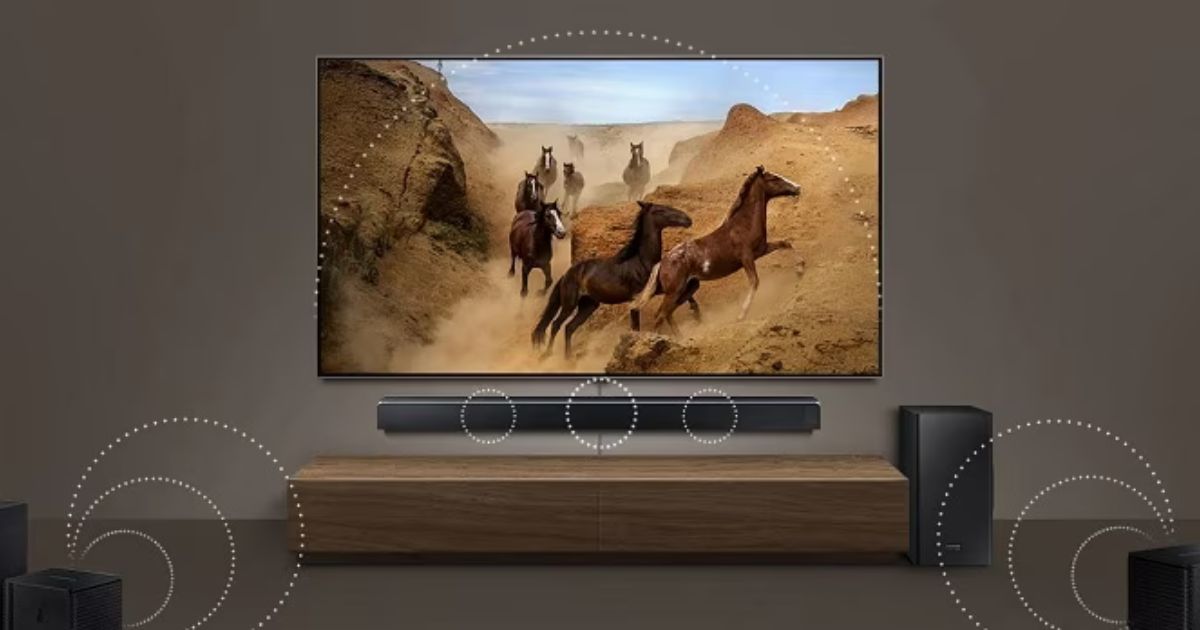
Now that everything is set up, it’s time to turn ON your Hisense TV and soundbar. You should immediately notice an improved audio experience, as the optical connection allows for booming sound that perfectly complements your TV’s visuals. If the sound isn’t coming through as expected, go into your TV settings and ensure the audio output is set to optical. This will direct all sound from your television to the soundbar, giving you a superior home theater experience.
Fine-Tuning Your Hisense TV’s Audio Output
Setting up the Hisense TV audio output correctly is a crucial step in getting the best sound. Using your remote, press the Menu or Settings button to access the main options on your television. The exact wording of the buttons may vary based on your model, but you’ll usually find the Sound or Audio menu after scrolling with the arrow keys on your remote.
Every Hisense TV model comes with a different layout, and the software versions may also differ slightly. This means you might need to explore the options carefully to locate the right settings for your specific TV. Once you find it, make sure you select the best possible audio configuration to match your setup.
Selecting the Right Optical Output
Now that you’ve accessed the sound settings, it’s time to configure the output. Look for terms like Speaker Output, Digital Audio Output, or External Speakers (Digital Out). Choosing the Optical setting will ensure that all signals bypass the internal speakers and are sent to your soundbar through the port you connected earlier.
This step is essential because it helps your Hisense TV send high-quality audio directly to the connected sound system, giving you a much better experience than using built-in speakers. If the wording on your TV’s menu isn’t exactly the same as the ones mentioned, go with the closest match that directs the signal to the external device.
Configuring Your Soundbar’s Input
After setting up the TV, the next step is to make sure your soundbar is also set to receive audio through the correct connection. Using the remote control for your soundbar, locate the Input, Source, or Function button. Cycle through the available sources until you see Optical or Digital In displayed as the active input.
Different models have different labeling, so if you’re unsure, checking the user manual is always a good idea. A little patience in setting the correct selection will save you a lot of trouble later when you start playing content.
Testing the Sound – The Exciting Moment!
Now comes the fun part—testing your setup! Start playing content from your Hisense TV by tuning into an over-the-air channel, launching a streaming app, or playing a Blu-ray disc. As the audio plays, gradually increase the volume using your soundbar’s remote.
If everything was successfully configured, you should now hear a clear, powerful sound coming from your soundbar, while your Hisense TV speakers should either be muted or extremely quiet. The difference in quality will be dramatic, giving you a much better home theater experience.
Troubleshooting: No Sound Issues?
Don’t panic if you’re experiencing complete silence after making all the connections. This is a common issue and is often easily fixed. The majority of the time, the problem lies in an incorrect setting or a loose cable. Following a systematic approach to diagnose and eliminate potential causes can help resolve the issue quickly.
Rechecking the Hisense TV’s Audio Output
The most frequent cause of a no sound issue is an incorrect audio output selection on your Hisense TV. It’s a simple oversight that many users make, so double-checking is essential. Go back to the Hisense TV settings, carefully navigate through the menus, and ensure that Optical or External Speakers (Digital Out) is selected and saved.
If your issue persists, try revisiting Step 5 and Step 6 of this guide and retracing your steps. Often, simply reconfirming and managing multiple sources properly can immediately resolve the silence issue.
Checking and Securing Cable Connections
Another common issue that is often overlooked is a loose connection of the optical cable. Even if the cable looks securely plugged in, it might not be making a proper connection. To be sure, physically unplug both ends—one from your Hisense TV and the other from the soundbar.
Now, re-insert the cable, pushing it in firmly until you feel a small click. This ensures that the connectors are aligned correctly and making full contact. A slightly loose cable can be sneaky, appearing to be connected while still preventing the digital signal from passing through. Properly securing the optical cable often eliminates the cause of intermittent silence and restores full audio function.
Conclusion
A Hisense TV delivers stunning visuals, but pairing it with a soundbar using an optical cable takes your audio experience to the next level. An optical connection is simple, reliable, and universally compatible, making it an excellent choice for enhancing sound quality without unnecessary complexity. By following the step-by-step setup process, you can enjoy crystal-clear sound with minimal effort. Whether you’re watching movies, gaming, or listening to music, the right setup ensures a truly immersive experience. If any issues arise, troubleshooting steps like checking connections and adjusting settings will help you resolve them quickly. With this guide, you can confidently set up your Hisense TV and soundbar for the best possible audio performance.
FAQs
Q1. Why should I use an optical cable instead of HDMI ARC?
While HDMI ARC is a great option, some older Hisense TV models may not support it. An optical cable is a simple and universally compatible solution that delivers high-quality digital sound without interference.
Q2. How do I know if my Hisense TV has an optical output?
Look at the back or side panel of your TV for a port labeled “Digital Audio Out (Optical).” You can also check your TV’s user manual for confirmation.
Q3. Why isn’t my soundbar producing sound after connecting the optical cable?
Ensure that the optical cable is securely plugged in at both ends. Then, go to your Hisense TV’s sound settings and select “Optical” or “External Speakers (Digital Out)” as the audio output. Also, make sure your soundbar is set to the correct input source.
Q4. Do I need to change any settings on my Hisense TV for the optical connection to work?
Yes. Navigate to the TV’s audio settings and select “Optical” or “Digital Audio Output” as the primary sound output. This ensures that all audio is directed to your soundbar.
Q5. Can I control the soundbar’s volume with my Hisense TV remote?
Some Hisense TVs support volume control for external speakers via optical output, but in most cases, you will need to use the soundbar’s remote.
Q6. Does an optical cable support Dolby Atmos?
No, optical cables support Dolby Digital and DTS, but not Dolby Atmos. If you need Atmos, consider using HDMI eARC instead.