Introduction
If you’re looking to enjoy streaming your favorite movies, shows, and videos on your Samsung TV, the first step is to connect it to WiFi. But how do you connect Samsung TV to WiFi? Whether you’re a tech novice or a seasoned user, setting up WiFi on your Samsung TV doesn’t have to be difficult. In this guide, we will take you step-by-step through the process. We will also cover common troubleshooting tips to ensure that your connection is fast, stable, and ready for streaming. By the end of this article, you’ll be able to connect your Samsung TV to WiFi like a pro!
connect samsung tv to wifi
Connecting your Samsung TV to WiFi is a simple process that involves turning on your TV, navigating to the network settings, and selecting your Wi-Fi network. After entering your password, your TV will connect, allowing you to stream content. Common issues, such as weak signals or incorrect passwords, can be resolved by restarting your router or double-checking the details. For a more stable connection, you can use an Ethernet cable. Additionally, the SmartThings app can help control your TV without a remote, ensuring a seamless streaming experience on your Samsung Smart TV.
Understanding the Basics of Connecting Samsung TV to WiFi
Before we dive into the step-by-step process, it’s important to understand a few things. Your Samsung TV can connect to WiFi in two ways: through a wireless (Wi-Fi) connection or a wired (Ethernet) connection. If you’re going with Wi-Fi, which most users prefer for flexibility, it’s essential to have a good internet connection and a stable Wi-Fi signal.
What You’ll Need to Connect Your Samsung TV to WiFi

- A Samsung Smart TV: Make sure your TV is capable of connecting to the internet.
- A Stable Wi-Fi Network: Check that your router is up and running and has a strong signal.
- A Remote Control: For navigating through the setup process.
- Wi-Fi Password: You’ll need this to authenticate your connection.
Step-by-Step Guide: How to Connect Your Samsung TV to WiFi
Now that you have the basics down, let’s move on to the actual steps to connect Samsung TV to WiFi.
Step 1: Power On Your Samsung TV
Before you begin, turn on your Samsung TV by pressing the Power button on your remote control or directly on the TV. This simple step is essential before you can access the settings.
Step 2: Navigate to Network Settings
Once the TV is powered on, grab your remote control. Press the Menu button (or Home button, depending on your remote model). You will be presented with a set of options. From here, navigate to Settings and select Network. Then choose Network Settings.
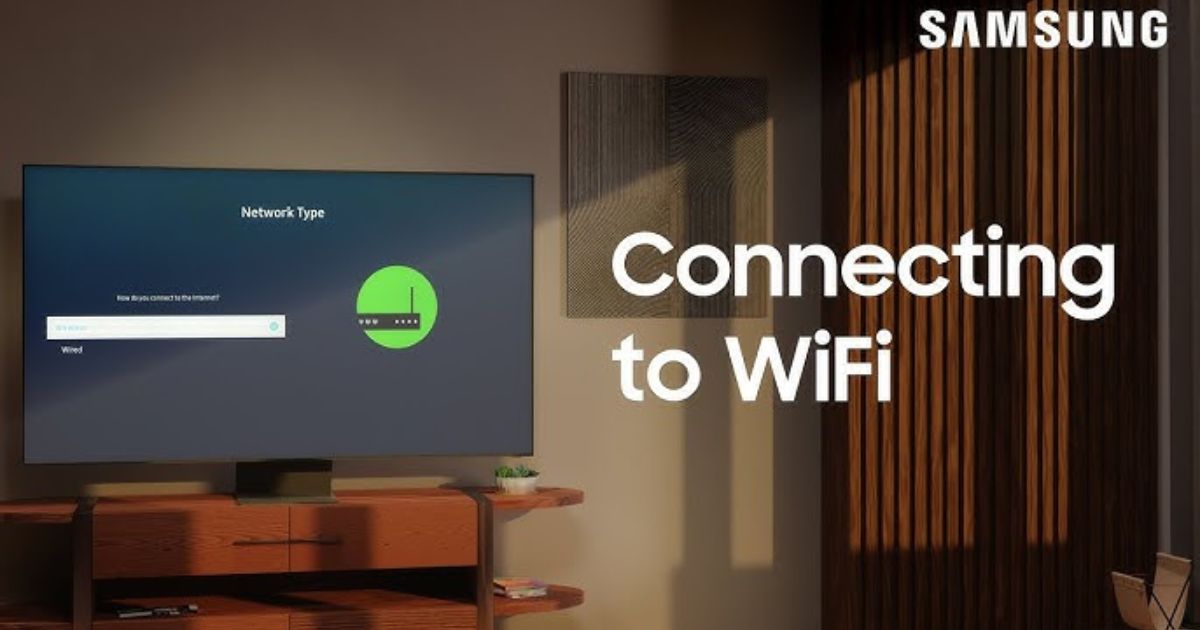
Step 3: Select Network Type
Now, the screen will display options for connecting to the internet. Select Wireless as your preferred network type. Your TV will begin searching for available Wi-Fi networks.
Step 4: Choose Your Wi-Fi Network
After a few seconds, a list of available Wi-Fi networks will appear on the screen. Find and select your Wi-Fi network from the list. This will be the same network you use on other devices like your smartphone or laptop.
Step 5: Enter the Wi-Fi Password
Once you’ve selected your network, your Samsung TV will prompt you to enter the Wi-Fi password. Using the on-screen keyboard, carefully enter the password. Double-check it for accuracy before proceeding.
Step 6: Confirm Connection
After entering the password, press Done or OK to confirm the connection. Your TV will now attempt to connect to the Wi-Fi network. If successful, you’ll see a message confirming the connection.
Step 7: Start Streaming
Congratulations! Your Samsung TV is now connected to Wi-Fi. You can now access online streaming platforms like Netflix, YouTube, Hulu, and others. Enjoy streaming in HD or 4K, depending on your TV model and internet speed.
Troubleshooting Common Wi-Fi Connection Issues

While connecting your Samsung TV to WiFi is generally straightforward, you may run into a few common issues. Let’s go over some troubleshooting tips.
Issue 1: No Wi-Fi Networks Found
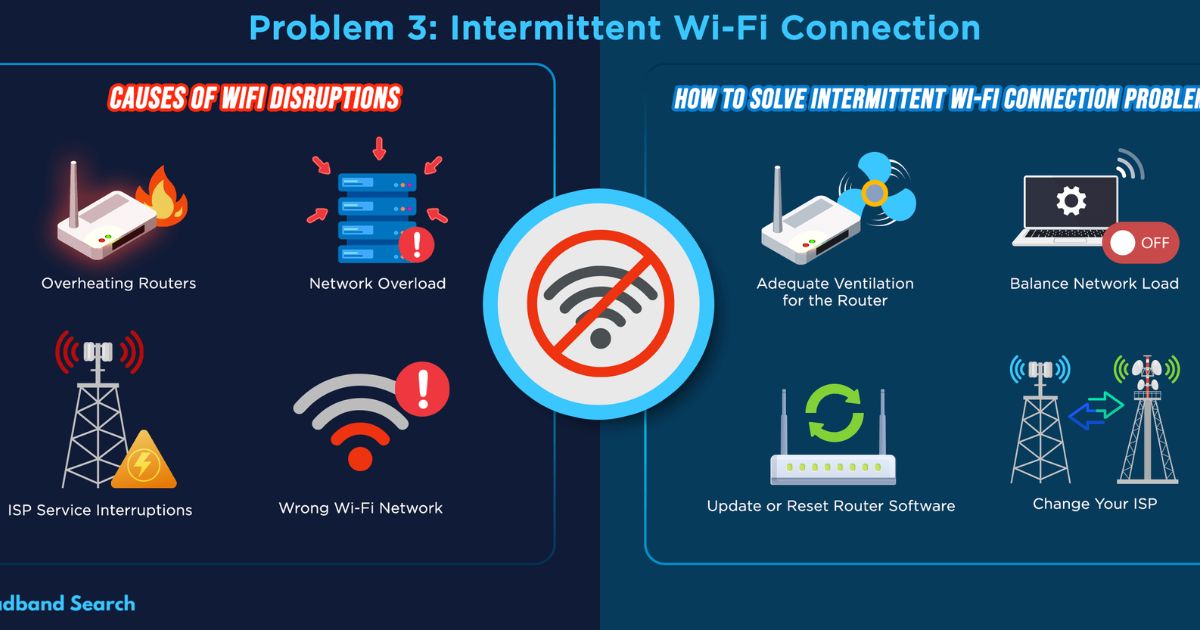
If your TV isn’t finding any Wi-Fi networks, ensure that your router is working correctly. You can check the router’s signal strength and make sure other devices can connect to the network. If everything else works, try restarting your router.
Issue 2: Incorrect Wi-Fi Password
If you’re getting a “password incorrect” message, double-check that you’ve entered the right password. Ensure that you are using the correct capitalization and that there are no extra spaces.
Issue 3: Weak Wi-Fi Signal
A weak Wi-Fi signal can cause buffering or dropped connections. Try moving your router closer to your TV or using a Wi-Fi extender if your TV is far from the router.
Issue 4: TV Not Connecting to Wi-Fi
If your TV won’t connect even though the password is correct and the Wi-Fi signal is strong, restart both your TV and router. Sometimes a simple restart can solve the issue.
Alternative Connection: Using Ethernet (Wired Network)
If you prefer a more stable and faster internet connection, you can connect your Samsung TV using an Ethernet cable. Here’s how:
- Plug one end of the Ethernet cable into the LAN port on the back of your Samsung TV.
- Plug the other end into an available port on your router.
- Navigate to Network Settings and choose Wired as the connection type.
- Your TV should automatically connect to the internet via Ethernet.
Can I Connect My Samsung TV to WiFi Without a Remote?
If you lose your remote or it’s not working, don’t panic! You can still connect your Samsung TV to Wi-Fi using a mobile app or the physical buttons on your TV. Samsung’s SmartThings app can serve as a remote control for your TV. Download it on your phone, and you’ll be able to access all the necessary settings.
Benefits of Connecting Your Samsung TV to Wi-Fi
Now that your Samsung TV is connected to Wi-Fi, what are the benefits?
- Stream Movies and TV Shows: Watch content on platforms like Netflix, Hulu, and YouTube in stunning quality.
- Software Updates: Stay up to date with the latest features and fixes on your TV.
- Smart Features: Access smart features like voice control, screen mirroring, and app downloads.
Conclusion
Connecting your Samsung TV to WiFi is a quick and easy process. By following the step-by-step guide, you can start enjoying streaming services and all the other smart features your TV has to offer. Troubleshooting tips are also available if you run into any issues, and the option to use a wired connection is always there if needed. So go ahead, connect Samsung TV to WiFi, and enjoy a world of entertainment at your fingertips.
