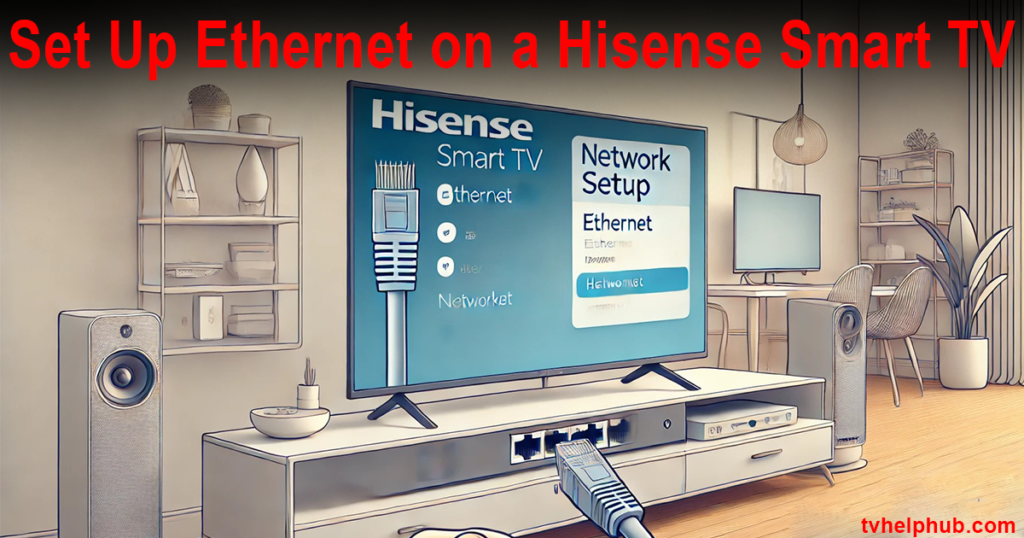
Introduction
A stable internet connection is essential for getting the most out of your Hisense Smart TV, whether you’re streaming your favorite shows, downloading apps, or browsing online content. While Wi-Fi is convenient, an Ethernet connection offers a more reliable and faster alternative, especially for high-definition streaming. In this guide, we’ll walk you through the simple steps to set up an Ethernet connection on your Hisense Smart TV, ensuring you enjoy smooth, uninterrupted entertainment. Whether you’re a tech-savvy user or a beginner, this straightforward process will have your TV connected in no time.
Troubleshooting Ethernet Issues
 If the Ethernet port on your Hisense TV isn’t working, a little troubleshooting can resolve the issue. Check the Ethernet cable for any visible damage and ensure it’s securely connected to both the TV and router. Sometimes, a quick restart of your TV and network can fix things. If the issue persists, dive into the settings and ensure the TV recognizes the wired network. A firmware update might also help; head to the support section in the menu and check for updates. As someone who has faced similar challenges, I’ve found that resetting the network settings can also work wonders, especially if the issue seems software-related.
Enhance the Experience with Reliable Internet Access
A solid wired internet connection not only boosts account security but also ensures smooth navigation through your Smart TV’s settings and features. With a properly configured network, you’ll have seamless access to a variety of online features, from streaming to using apps effortlessly. For optimal performance, ensure your router is positioned close to your Hisense TV, and always use a high-quality Ethernet cable.
Checking the Essentials for Ethernet Connectivity
When setting up Ethernet on your Hisense TV, it’s crucial to start with the basics. Ensure the Ethernet cable is properly and securely connected to both the TV and the router. A loose cable can often be the root cause of connectivity issues, so double-check that everything fits snugly. I once spent an hour troubleshooting only to find the cable slightly loose—proof that even the smallest oversight can create a big problem.
If the physical connections are in place, restart your TV to refresh its settings. Simply power off the device, unplug it from the wall for about 30 seconds, and plug it back in. This small step can often resolve issues without further tweaks.
Investigating the Router
Your router plays a significant role in ensuring a stable connection. Verify that the router is functioning correctly by checking if other devices in your home are connecting without any hiccups. If not, consider resetting the router to rule out potential problems. I’ve found that a quick reset often resolves minor issues, especially when the network seems unstable.By covering these essentials, you’ll likely establish a seamless connection for your Hisense Smart TV.
Connecting a Hisense TV to a Wired Network
If your Wi-Fi network is down, setting up an ethernet connection on your Hisense TV is a great alternative. Modern Hisense TVs come equipped with a built-in port for an ethernet cable, making it easy to establish a wired connection. Start by finding an ethernet cable that is compatible with your TV’s port. This step is crucial to ensure a secure fit and prevent connection issues later.
Plugging In the Ethernet Cable
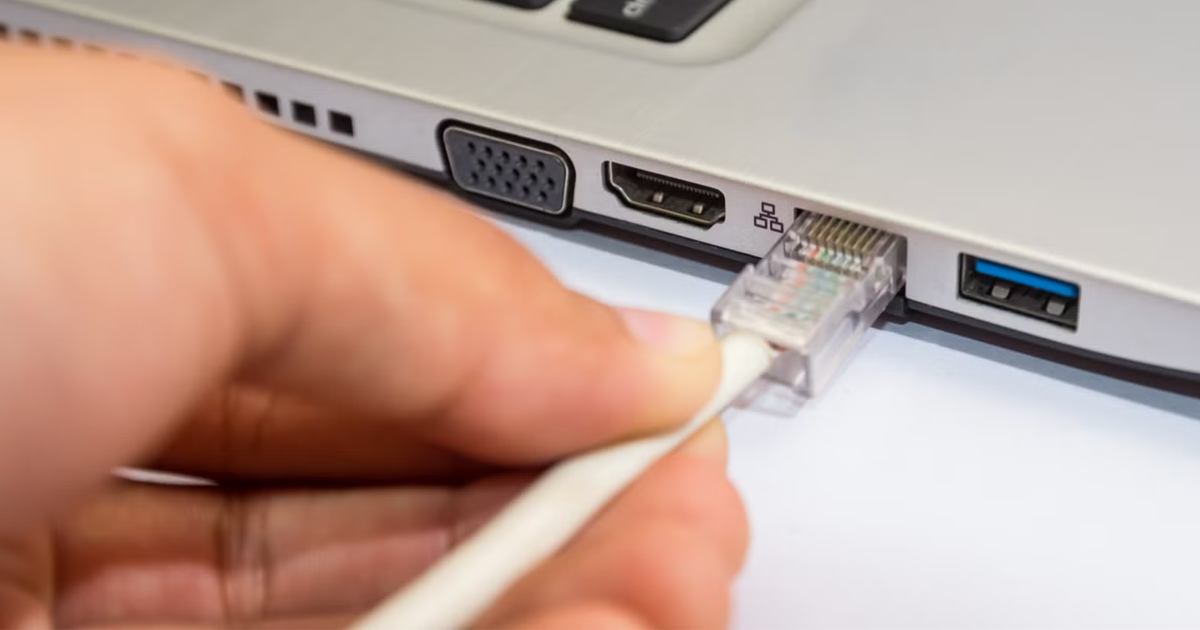 To establish the connection, plug one end of the ethernet cable into your internet router and the other into the TV. Ensure both ends are connected correctly; a satisfying click sound will confirm a proper fit. A stable connection through this method avoids the instability often experienced with Wi-Fi.
Accessing Network Settings
Once the cable is connected, grab your remote and navigate to the TV settings. Browse through the Network section to find the Network Configurations screen. Here, select the LAN option and follow the on-screen prompts to proceed. These steps will link your TV to the ethernet network, ensuring smooth internet access.
Testing and Final Adjustments
After completing the setup, test the connection to confirm it works. Run a diagnostic to pinpoint any issues that might arise. If your TV attempts to connect via Wi-Fi instead of Ethernet, switch the preference to Ethernet. A direct wired connection not only provides faster internet speeds but also reduces potential connectivity problems.
 Ensure your Ethernet cable is securely plugged into both the TV and the router. A loose connection might prevent your TV from linking to the internet. Also, consider the quality of your cable—using a high-quality one ensures a stable connection. If multiple devices are connected to the same network, the load might slow down the signal strength, causing issues. Limiting the number of active devices or upgrading your internet plan can help.
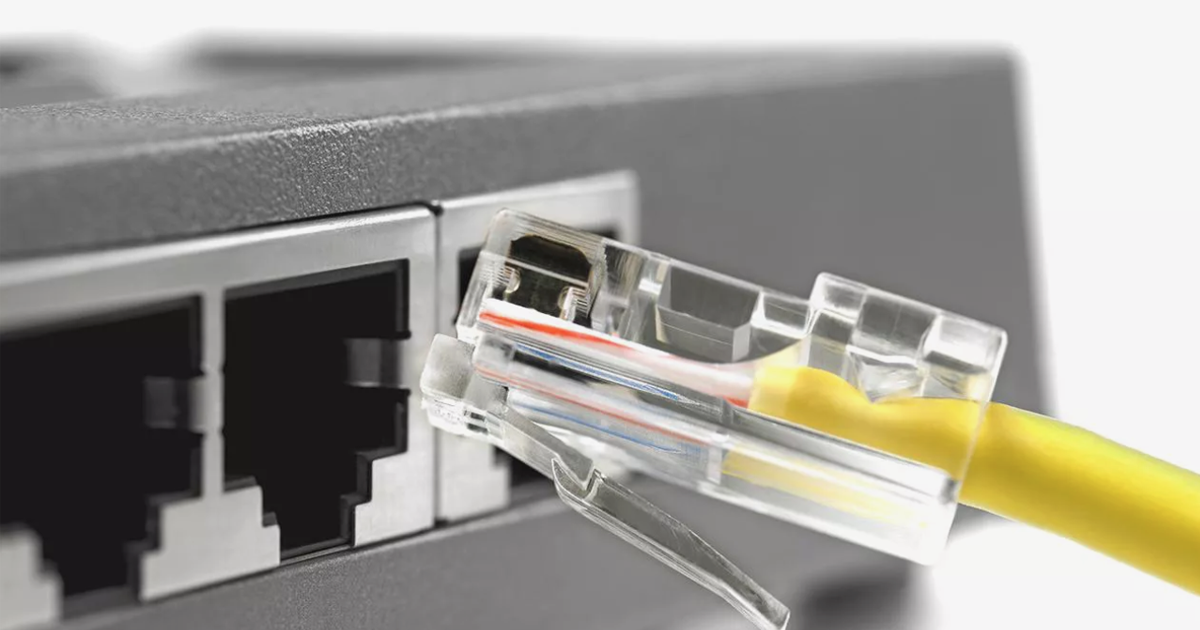 Before troubleshooting further, ensure that your Ethernet cable is securely plugged into both the router and yourHisense Smart TV. Inspect the cable for any visible damage, as even minor issues can disrupt the internet connection. Also, check the Ethernet port on your TV to confirm it is clean and free of dust. A faulty cable or port could hinder your ability to access online services seamlessly.
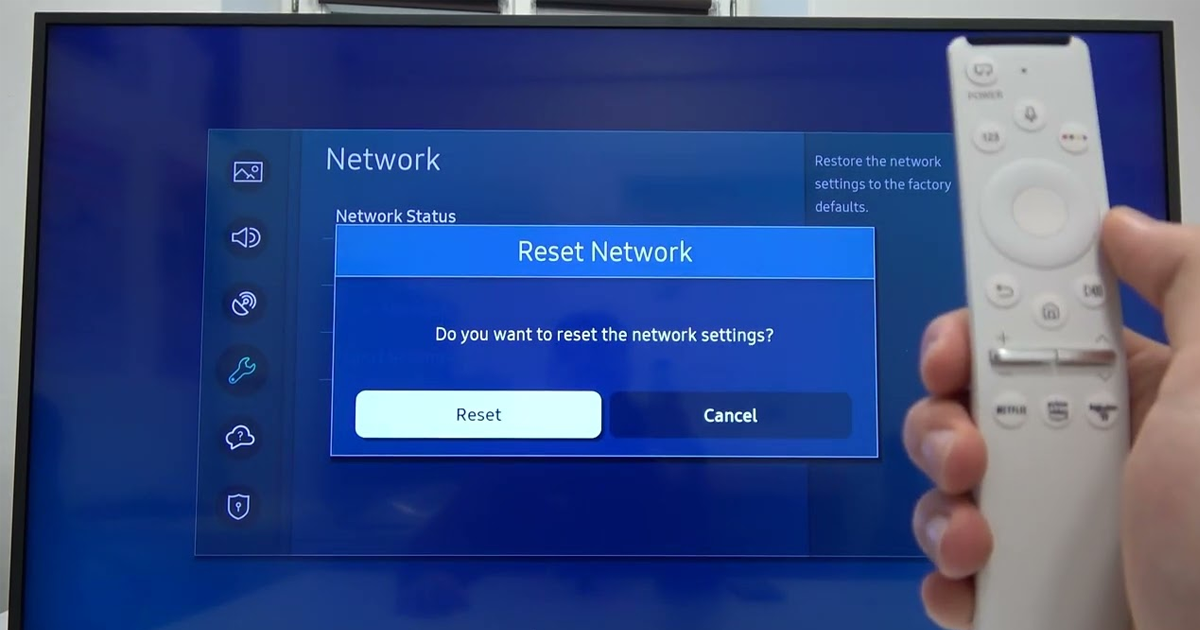 To optimize your experience, take a moment to explore the network configuration on your TV. Access the settings menu using your remote and double-check that your connection is set to wired rather than Wi-Fi. This small adjustment ensures that your Ethernet connection takes priority and eliminates potential interference from nearby wireless devices.