Introduction
Using a Hisense TV as your computer monitor can completely transform how you work and game. Imagine replacing a standard display with a high-resolution TV that offers impressive extra display height perfect for juggling multi-window workloads. Whether you’re handling spreadsheets, designing graphics, or gaming, the big display of a Hisense TV eliminates the need for stacking multiple monitors.When I first experimented with using my TV as a monitor, I was skeptical about how it would handle tasks like coding and editing. However, the effectiveness of the setup surprised me. It seamlessly adapts to desktop use, providing a perfect fit for any scenario. The visual clarity, combined with the convenience of having fewer devices cluttering my workspace, made me realize the downsides of traditional monitors were more significant than I’d thought.If you’re ready to explore a more immersive setup, the Hisense TV works effortlessly with both laptops and PCs. It supports multiple methods of connection and is versatile enough that even other TVs might replicate some of its capabilities. But with Hisense, the functionality feels purpose-built for professionals and gamers alike.
Hisense TV as a Monitor
Connecting Your Hisense TV for Seamless Integration

A Hisense TV can serve as an excellent alternative to your standard computer monitor, offering larger screen sizes and impressive resolution options. Modern Hisense TVs are equipped with features that make them perfect for computer use, including 4K resolution, multiple HDMI ports, and low input lag for smoother gaming or work sessions. When connecting your PC, make sure to check whether your desktop or laptop has the required display ports. Most modern PCs now include HDMI ports, so all you need is a compatible HDMI cable. I personally use a high-quality HDMI cable for a seamless connection, especially when using 4K or 8K TVs for a high refresh rate experience.
Adapting to Different Ports
In case your PC has a different port like VGA, DisplayPort, or USB-C, you’ll need to buy an appropriate adapter to connect your HDMI cable. For example, if you’re using a Mac, you can get a Type C to HDMI adapter. This ensures that no matter what device you’re using, your Hisense TV can still act as an excellent monitor, ensuring you have a large and clear screen to work or game on.
Steps to Connect Your Hisense TV to a Windows PC

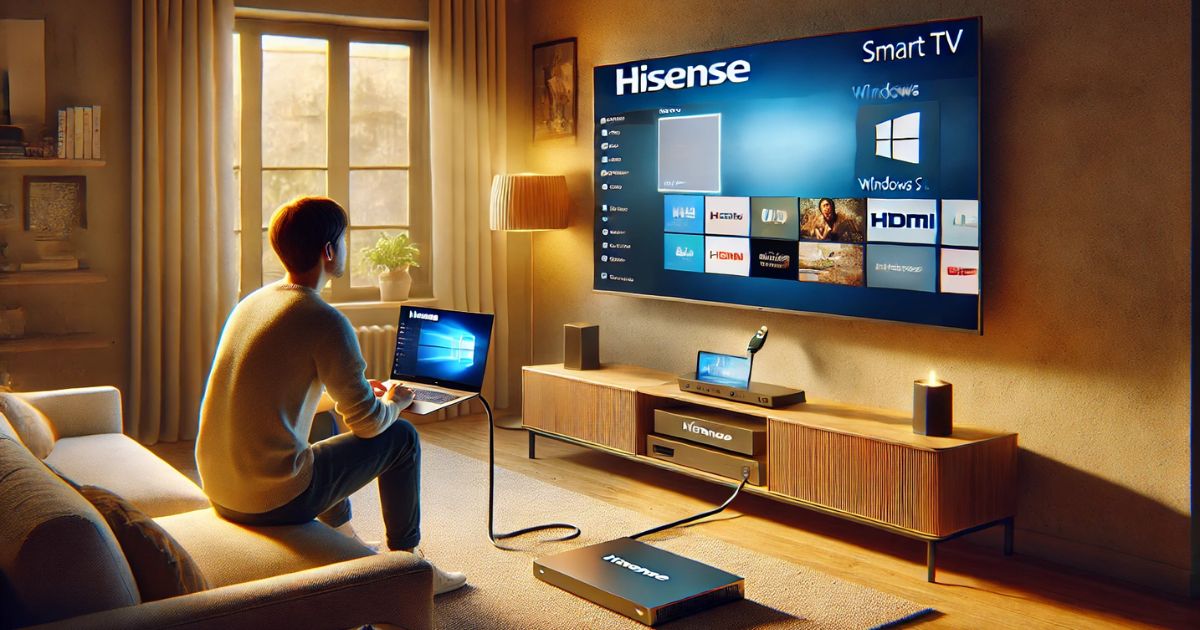
If you want to use your Hisense TV as a monitor for your Windows PC, it’s fairly simple. First, plug the HDMI cord into both your TV and PC or laptop ports. Then, grab your TV remote, press the Input button, and choose the HDMI port that’s connected to your laptop. If there’s no dedicated Input button, you can find the Source/input option in your TV’s homepage settings.
Once you’ve selected the correct source, your PC screen will appear on the TV. If the default display settings aren’t quite right, don’t worry you can easily adjust them. Simply press Win + I to open the Settings app, then navigate to System > Display. Here, you can make adjustments like selecting Extend these displays to use the TV as an additional monitor or the “Show only on X” option for a single display.
To improve your experience, you can adjust the screen resolution and set the refresh rate to match your TV‘s capabilities. If the fonts and text appear too small, use the scaling settings to adjust it for better readability. Over the years, I’ve found this setup to be incredibly useful, especially when I need a larger display for multi-tasking or gaming, making my workflow smoother.
For Macbook or other Mac

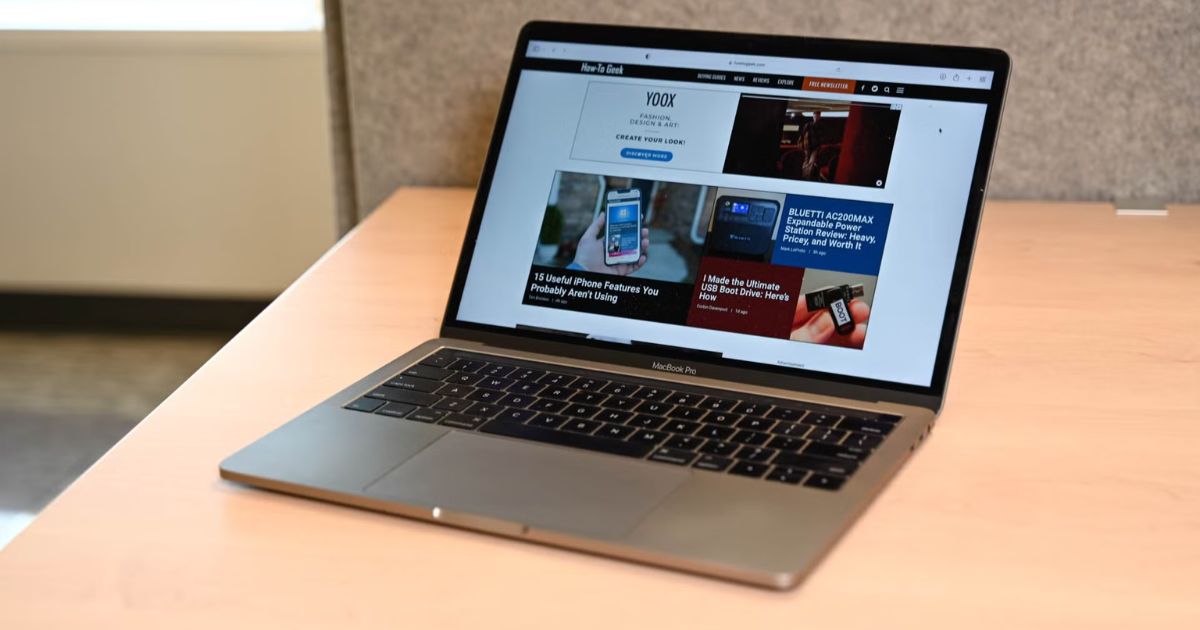
If you’re using a Mac, connecting it to a Hisense TV is straightforward. Start by plugging the HDMI cable into both your TV and Mac ports. If your Mac doesn’t have an HDMI port, you can use a USB C to HDMI adapter. Then, press the Input button on your TV remote and select the HDMI port connected to your Mac.
Once the connection is made, the screen will automatically mirror. To make adjustments, click on the Display settings icon on the Dock of your Mac. From there, you can choose between options like Extended display or Main display. You can also modify the refresh rate, color profile, and screen resolution according to your preferences.
Use Hisense TV as Monitor using a Wireless Connection
For those with a Hisense Smart TV, you can go wireless! Ensure your TV and Windows PC or Mac are connected to the same Wi-Fi network. Once connected, you can easily cast the display from your PC to the TV. This is a convenient option if you don’t want to deal with cables.
To wirelessly connect your Windows PC, press the Input button on the TV remote and select Screen Sharing. Then, on your PC, press Win + K to open the Cast option and choose the TV from the list. This wireless connection provides a smooth experience, allowing you to adjust the display settings from the PC as needed.
For Mac, you can use AirPlay to wirelessly share the screen. First, press the Input button and select the AirPlay option on the TV. Then, open the Control Center on your Mac and click Screen Mirroring to choose your TV. Once connected, you can adjust display settings directly on your Mac for optimal performance.
To a Windows PC
When using a Windows PC to connect wirelessly to your Hisense TV, start by pressing the Input button on the TV remote and selecting Screen Sharing. On your PC, press Win + K to open the Cast option, and then select your TV from the list.
You can change the default display settings, such as switching from Duplicate mode to Extend or Second-screen only mode. This provides flexibility in how you want your displays arranged, giving you the best multi-tasking setup.
How to Use Hisense TV as Computer Monitor
If you prefer using your Hisense TV as a monitor, there are a few steps to ensure the best experience. First, ensure your TV is connected to the PC via HDMI or DisplayPort. If you’re using a wireless connection, ensure the devices are connected to the same network.
Next, adjust the display settings on your PC to match your TV‘s native resolution. You can also select between Extend, Duplicate, or Second-screen only to suit your needs. It’s essential to fine-tune the refresh rate and screen resolution to ensure the best picture quality.
Optimizing Your Hisense TV Settings

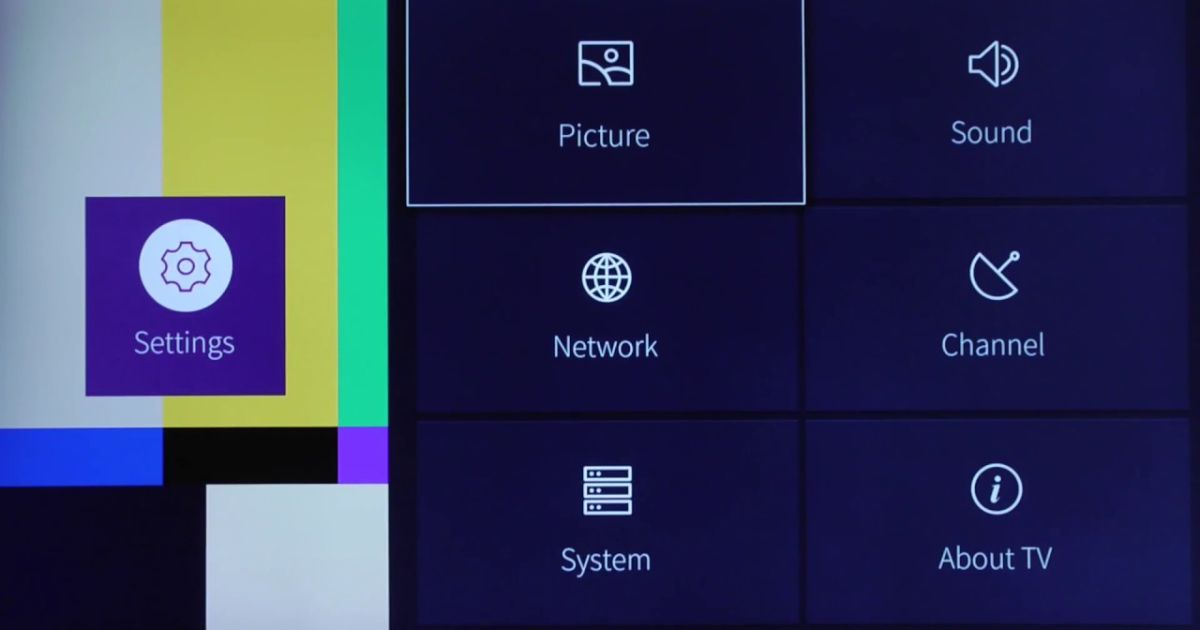
To get the best display quality from your Hisense TV, access the TV’s settings menu. Enable PC or Game Mode to reduce input lag for a smoother experience. Adjust the brightness, contrast, and color temperature to your liking. These settings help to create a viewing experience that’s both comfortable and visually stunning.
Gaming and Entertainment Benefits
Hisense TVs are a great choice for gaming monitors due to their large screen sizes and impressive picture quality. Gaming mode helps reduce input lag, while HDR support brings out more vivid colors in compatible games. Additionally, the smart features of Hisense TVs give you easy access to popular streaming services and gaming apps.
Professional Work Considerations
When using a Hisense TV for professional work, proper ergonomics is key. Make sure your TV is positioned at eye level to avoid neck strain and maintain an appropriate viewing distance. For longer work sessions, consider using blue light filters to reduce eye fatigue. Taking regular breaks will help keep you productive and comfortable.
Common Challenges and Solutions
Like any technology, using a Hisense TV as a monitor comes with its challenges. One common issue is screen flickering, which is often due to a loose cable. If you notice poor image quality, check the resolution settings on your PC and make sure they match your TV’s resolution. Audio sync problems can usually be resolved through the TV’s sound settings.
Maintenance and Longevity Tips
To ensure your Hisense TV lasts a long time as a monitor, perform regular maintenance. Keep the TV clean and ensure it has proper ventilation. Avoid displaying static images for too long to prevent screen burn-in. Additionally, performing software updates regularly will ensure the TV remains functional and optimized.
